Adobe Photoshop is renowned for its versatility in handling mockups! Inserting your design with smart object layers is incredibly easy. Plus, with professionally crafted mockups, your design will look realistic and authentic, as if it were photographed. If you haven’t explored Photoshop yet, it’s definitely worth trying — you won’t be disappointed! In this guide, I’ll walk you through the essentials of using PSD file mockups in Photoshop. Let’s delve in and unlock your design potential!
Step-by-Step Guide
Step 1: Access Adobe Photoshop
Launch Adobe Photoshop: Open Adobe Photoshop on your computer. If you don’t have it yet, you can download it from Adobe‘s official website.
Step 2: Open Your PSD Mockup
Navigate to Your PSD File: Click on File in the upper left corner of the Photoshop interface, then select Open... from the dropdown menu. Alternatively, you can drag and drop your PSD file directly into the Photoshop interface.

Step 3: Familiarize Yourself with Layers
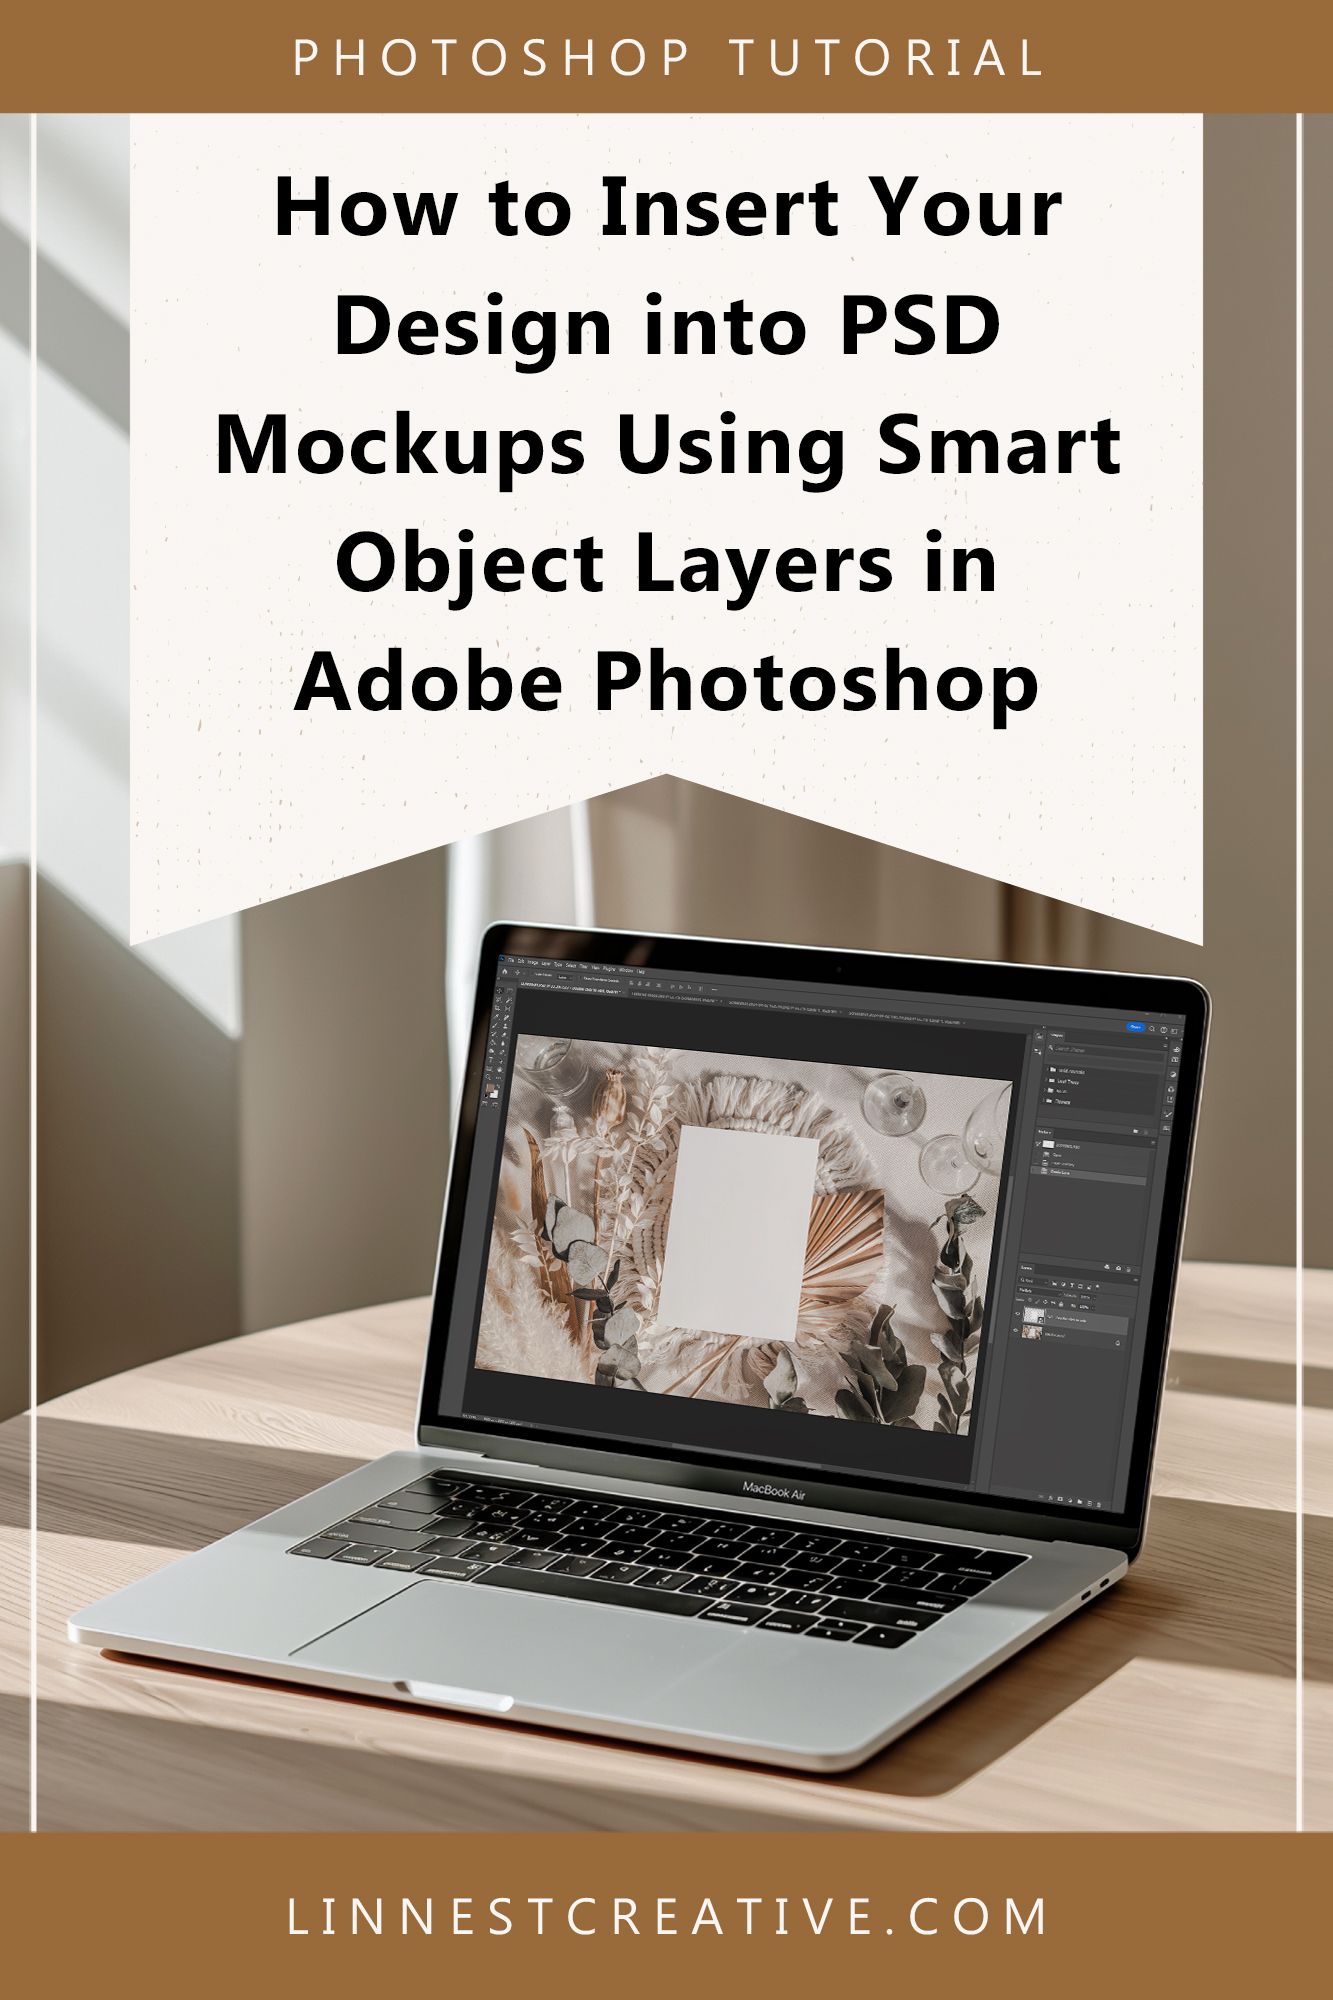
Explore the Layers Panel: Located on the right side of the screen, the Layers Panel is where you’ll find the various layers that make up your PSD mockup. Each layer represents a different element of the design, allowing for easy editing and customization. If you don’t see the Layers Panel in your workspace, you can access it by going to the top menu and selecting Window > Layers. This will open the Layers Panel and make it accessible for your editing convenience.

Step 4: Using a Blank White Layer to Reduce File Size
Now that you’re familiar with the Layers Panel, let’s discuss a useful tip for managing PSD file sizes — utilizing a blank white layer. This technique is something I always employ to make the file easier to share and download without affecting the quality.
Purpose of the Blank White Layer: By placing a blank white layer at the very top, we compress the file size, facilitating smoother transfers and downloads, especially with large files.
- Identifying and Deleting the First Layer: In the Layers panel, look for the topmost layer, I always name it “Delete This Layer”. This layer is solely for reducing the file size and should be removed before editing.
- Methods to Delete the Layer:
- Select the layer by clicking on it, then press
Deleteon your keyboard. - Select the layer by clicking on it, then click the little trash icon in the bottom right corner (or you can drag and drop the layer to the trash icon, too).
- Right-click (or Control-click on a Mac) on the “Delete This Layer” within the Layers panel, and select
Deletefrom the context menu that appears.
- Select the layer by clicking on it, then press
As an alternative, you can temporarily hide that layer by clicking on the little eye icon in front of the layer.

Step 5: Editing Smart Objects
Locating the Editable Layer: In the Layers Panel, identify the Smart Object layer that you’re meant to edit. While these layers are generally named with prompts like “Replace Me” or “Insert Design Here”, I specifically name this layer “Double Click to Edit” for clarity.
How to Edit: Double-click on the “Double Click to Edit” layer’s thumbnail. This will open the Smart Object in a new tab, allowing you to place your design.
Placing the Design: Now, with the Smart Object tab open, you have a couple of options to insert your design:
1) Using File Menu: Click File in the upper menu bar, then select Place Embedded.... Navigate to your design file (it doesn’t matter if it’s a JPEG or PNG), and click Place to place it into the Smart Object.
2) Drag and Drop: Alternatively, you can simply drag and drop your design file directly onto the Smart Object tab. This method is quick and intuitive, especially if you have your design file readily accessible.

Confirming Placement: After positioning your design as needed, click the Commit Transform checkmark in the top Options Bar or simply press Enter (Windows) or Return Key (Mac) on your keyboard to confirm. This action embeds your design within the Smart Object.
Saving: After placing your design, save the Smart Object by clicking File > Save or using the shortcut Ctrl + S (Windows) or Command + S (Mac). Close the Smart Object tab to return to the main mockup. Your design will automatically reflect in the mockup.

Step 6: Optional Adjustments to Enhance Your Design
- Selecting the Right Layer: Before you start tweaking these settings, ensure you select the background layer from the Layers panel. This action is crucial; otherwise, you might end up making adjustments only to the Smart Object layer (your design) and not the mockup image as a whole.
- How to Adjust: Go to the
Imagemenu in the upper menu bar, then chooseAdjustments. You’ll find options like Brightness/Contrast, Levels, Curves, Vibrance and more. These tools allow you to modify the mockup’s overall appearance. Don’t be afraid to experiment and tweak the settings.
Keep Exploring and Creating
Congratulations on mastering the art of using PSD mockups in Adobe Photoshop! Keep exploring and experimenting with different mockups to unlock new creative possibilities.
My Etsy shop hosts a diverse range of more than 500 stationery mockups. Explore my Etsy shop whenever you’re ready for more!
Plus, I’ve got some exclusive mockups available now on my website! Take a peek at my webshop!
Don’t let your creativity be bound by limits. Elevate your shop and make your designs pop to ensure your designs stand out! Happy designing!